Taken right from my post at the Yumi and Fumi Handmade blog. It's my turn to do a tutorial!
Good Thursday morning, everybody! It's Corinne, and it's my turn to show you the no-lines coloring tutorial! It's super fun to do, but also kinda difficult (at first)! You just take those black lines for granted, don't ya? I love how it looks like a painting in the end, but boy, it's quite challenging!
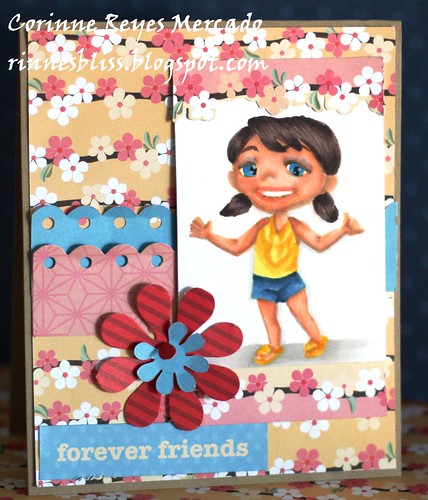
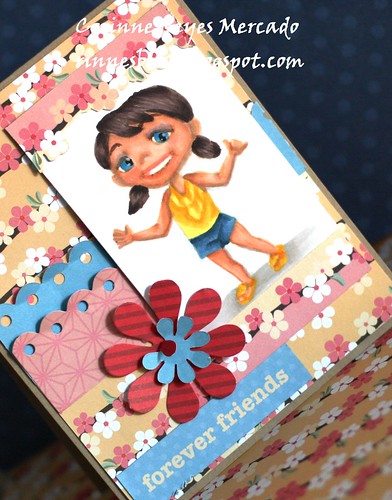
Summer Yumi is featured here, and although it is already Fall, I'm trying to get the most out of this flipflop wearing beauty!
The first thing you have to do is get a light colored ink to stamp with. I chose Malted Milk from Ranger's Jenni Bowlin series.
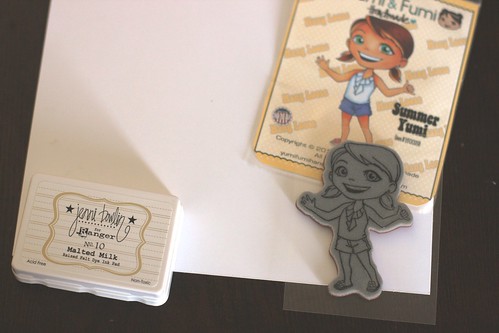
Just stamp the image as usual, making sure you've got plenty of light in the room.

Go ahead and apply color as if you were coloring the image. Make sure you add the usual shadows and shadings.
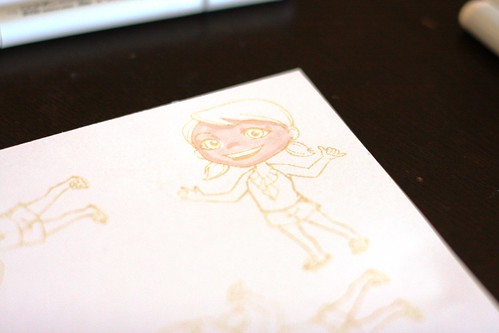
For example, I gave her eye lids, a contoured face, and full cheeks.
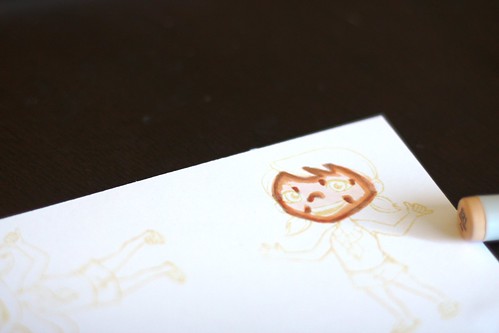
Blend really well. If you have to, go ahead and keep an image of the black line version close at hand so you know where to put the colors next.
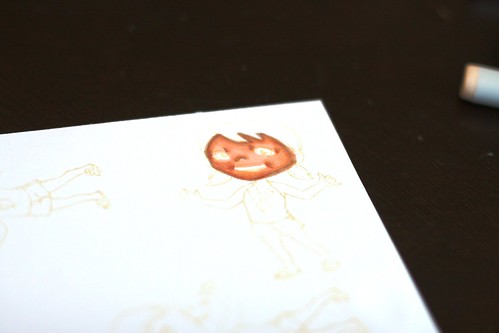
For me, the most difficult part of the no-lines coloring method is doing the hair.
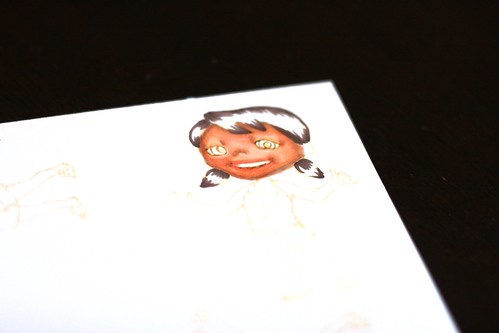
I could never get the shadows and highlights done exactly to my liking.

I also like to add a bit of "make-up" as eyeshadow.
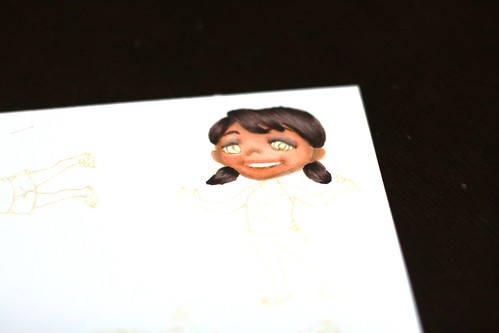
Then, do the rest of the body parts, making sure you keep in mind where your light source is.
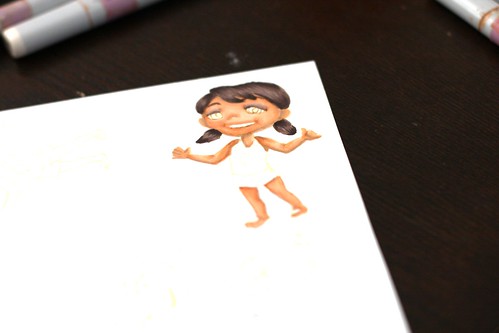
Finish up the clothing and details and voila!

I hope you enjoyed this tutorial. It's always refreshing to try something new :).
Have a wonderful day!

Team Yumi
Good Thursday morning, everybody! It's Corinne, and it's my turn to show you the no-lines coloring tutorial! It's super fun to do, but also kinda difficult (at first)! You just take those black lines for granted, don't ya? I love how it looks like a painting in the end, but boy, it's quite challenging!

Summer Yumi is featured here, and although it is already Fall, I'm trying to get the most out of this flipflop wearing beauty!
The first thing you have to do is get a light colored ink to stamp with. I chose Malted Milk from Ranger's Jenni Bowlin series.

Just stamp the image as usual, making sure you've got plenty of light in the room.

Go ahead and apply color as if you were coloring the image. Make sure you add the usual shadows and shadings.

For example, I gave her eye lids, a contoured face, and full cheeks.

Blend really well. If you have to, go ahead and keep an image of the black line version close at hand so you know where to put the colors next.

For me, the most difficult part of the no-lines coloring method is doing the hair.

I could never get the shadows and highlights done exactly to my liking.

I also like to add a bit of "make-up" as eyeshadow.

Then, do the rest of the body parts, making sure you keep in mind where your light source is.

Finish up the clothing and details and voila!

I hope you enjoyed this tutorial. It's always refreshing to try something new :).

Have a wonderful day!

Team Yumi







 center>








No comments:
Post a Comment